DIY Solar Driveway Lights: How to Plan and Install a Professional-Looking System at Home
Light your driveway with solar. Our DIY guide covers choosing lights, spacing, avoiding common mistakes, and achieving a bright, reliable installation.
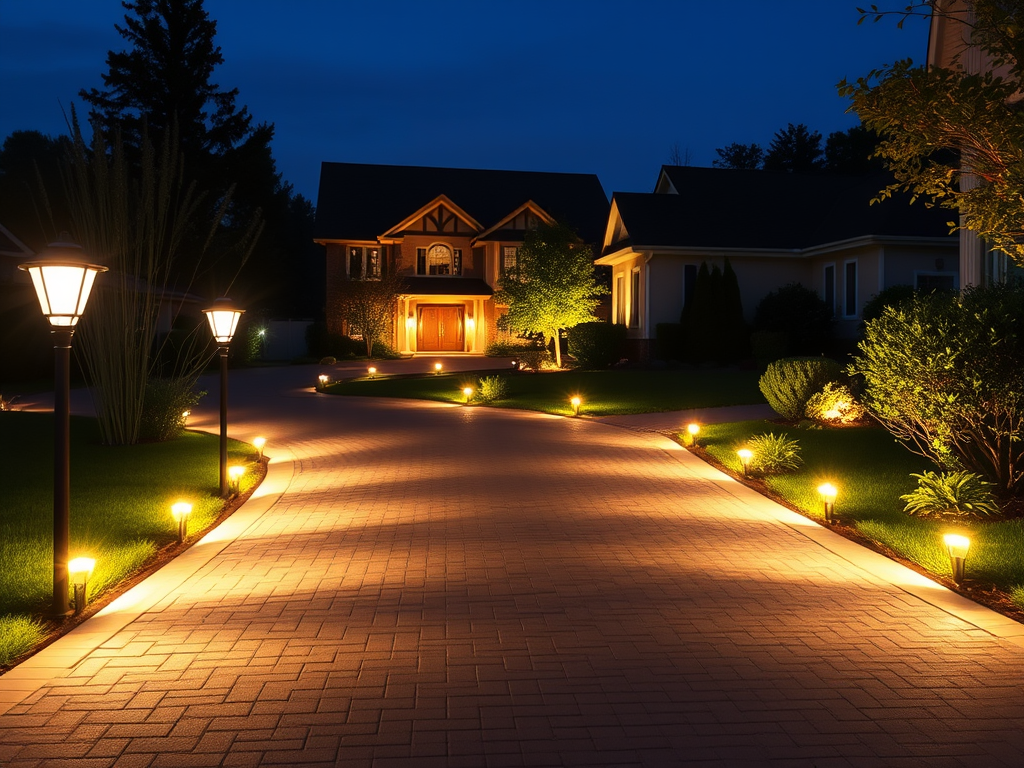
Lighting your driveway with solar is a fantastic weekend project that boosts curb appeal, safety, and security—all without an electrician’s bill or ongoing energy costs. But to move beyond weak, decorative spotlights to a functional, professional-grade system, you need the right plan and products.
Step 1: Define Your Goal & Choose the Right Light Type
What do you need?
Pathway Marking: Low-level (1-3 ft) bollard lights. Lumen Range: 50-200 lumens per light.
Functional Driveway Illumination: For seeing the edges and backing up safely. Requires pole-mounted lights (6-10 ft tall). Lumen Range: 800-2,000+ lumens per light.
Security Floodlighting: To illuminate a large area (e.g., turnaround). Requires higher-wattage flood lights. Lumen Range: 3,000-5,000+ lumens.
For this guide, we focus on functional driveway illumination (the most common DIY project).
Step 2: Select Commercial-Grade DIY Lights
Avoid cheap, all-in-one “spike lights.” Look for these features:
Separate Panel & Light: Allows you to mount the panel in full sun and the light in the optimal location.
Lithium Battery (LiFePO4 ideal): For longer life and better winter performance.
Weatherproof Connections: IP65 or higher rating for both light and panel.
Recommended Product Class: “Solar Parking Lot Lights” in the 30W-60W LED range. They are designed for durability and often come as a complete kit (light, panel, battery, pole).
Step 3: Planning Your Layout & Spacing
Pole Height: 8-10 feet is ideal for driveways. Tall enough to cast light widely, short enough for easy DIY installation.
Light Spacing: For good uniformity, space poles 2-2.5 times the mounting height apart. For 10ft poles, space lights 20-25 feet apart.
Layout Pattern: For a straight driveway, install lights on both sides, staggered. This provides even illumination and reduces shadows.
Panel Placement: This is critical. The panel must get 6+ hours of direct, unobstructed sun. It can be up to 30 feet away from the light via the provided cable. Mount it on a roof, fence, or a dedicated ground post.
Step 4: Installation Walkthrough
Day 1: Set Posts & Run Conduit (For a Permanent Installation)
Mark Locations using spray paint based on your spacing plan.
Dig Holes for posts (e.g., 4×4 wood or schedule 40 steel pipe). Depth = 2ft + (10% of post height). For a 10ft post, dig a 3ft deep hole.
Set Posts in Concrete. Use a level to ensure they are plumb. Let concrete cure for 48 hours.
Run Low-Voltage Direct-Burial Cable in a shallow trench (6 inches deep) from each post location to the central solar panel location. Place cable inside a non-metallic conduit for extra protection.
Day 2: Mount Hardware & Make Connections
Mount the Light Fixture to the top of each post using the provided U-brackets.
Mount the Solar Panel on a south-facing roof/wall or a ground pole at the optimal angle (equal to your latitude).
Connect the Wiring: At each light post, connect the cable from the light to the main run. At the solar panel location, connect all cables to a weatherproof junction box, then to the panel’s controller and battery bank. Follow the color-coded diagram exactly.
Seal all connections with waterproof heat-shrink tubing and dielectric grease.
Step 5: Commissioning & Testing
Cover the solar panel. All lights should turn on within a minute.
Uncover the panel in full sun. Lights should turn off.
Test any motion sensors or dimming modes.
Common DIY Mistakes to Avoid:
Mistake: Putting the panel on the light pole in a shaded area.
Fix: Use a remote panel in full sun.
Mistake: Using wires that are too thin, causing voltage drop over distance.
Fix: For runs over 30 ft, use 10-12 AWG cable.
Mistake: Not securing the battery.
Fix: Place the battery in a locked, ventilated box mounted on a post or wall.
With a weekend of work and the right kit, you can install a solar driveway lighting system that rivals professional installations in performance and lasts for years with minimal upkeep.
Internal Link Suggestion: Shop our curated DIY Driveway Lighting Kits, complete with all parts, detailed instructions, and tech support