Installing Solar Security Lights in 15 Minutes (Real Timeline)
Watch the timer: This is exactly how long proper installation takes when you have the right tools and preparation.
Minute 0-3: Unbox and verify components. Check battery charge indicator (green light = ready). Read the quick-start guide—seriously, it saves time.
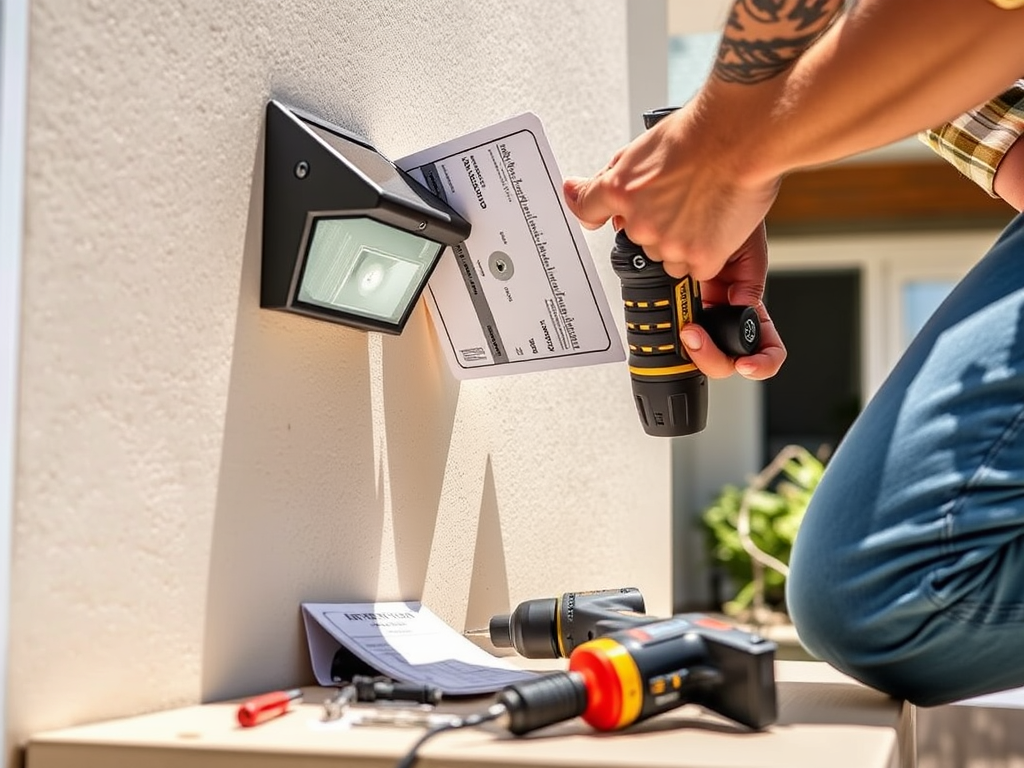
Minute 4-7: Choose your location using the “4-foot rule”—install at least 4 feet high to prevent tampering but below 10 feet for optimal motion detection. Use the included template to mark screw holes.
Minute 8-11: Drill pilot holes (concrete/brick) or use included screws (wood siding). Mount the bracket securely. This is the only step where rushing causes problems.
Minute 12-14: Attach the light unit, adjust the angle to cover your target area, and tighten all adjustments.
Minute 15: Switch to “test mode” and walk through the detection zone. Verify instant activation and adequate coverage.
The secret they don’t tell you: Do this installation during daylight hours but keep the light switched off until dusk. This gives the battery a full initial charge before first use, extending its lifespan by months.
Tools you actually need: Just a drill for hard surfaces. Everything else comes in the box—including the screwdriver bit.