A Step-by-Step Guide to Professional Solar Street Light Installation (With Safety Tips)
Plan to install solar street lights? Follow our professional 8-step installation guide with diagrams and crucial safety warnings to ensure a durable and efficient setup.
A proper installation is as important as the quality of the solar street light itself. A poorly mounted light can lead to premature failure, safety hazards, and poor lighting performance. This guide walks you through a professional, durable installation process.
Pre-Installation Checklist:
✅ Site Survey Complete: Sunlight hours analysis, shading check, soil condition.
✅ Local Codes Understood: Digging permits, utility line locations (call 811 in the US), foundation depth requirements.
✅ All Parts Present: Pole, luminaire, solar panel, battery, controller, foundation cage/cables, mounting hardware.
Step-by-Step Installation Process
Step 1: Foundation Excavation & Pouring
Dig the hole according to design specs (typically depth = 10% of pole height + 2 feet). Diameter is usually 3x the pole base diameter.
Insert the pre-assembled foundation cage/anchor bolts into the hole. Use a level to ensure it is perfectly vertical and at the correct height.
Pour high-strength concrete (minimum 3000 PSI). Let it cure for a minimum of 3-7 days (follow concrete specs). CRUCIAL: Do not proceed until the foundation is fully cured.
Step 2: Pole and Bracket Assembly
Lay the pole on a soft surface (grass, cardboard) to avoid scratching.
Attach the mounting brackets for the solar panel and luminaire (light head) at the designated heights, using provided stainless steel bolts. Torque to manufacturer specifications.
Step 3: Electrical Component Installation
Mount the battery inside the designated battery compartment at the base of the pole or in an underground box. Ensure it is secure and the compartment is sealed.
Connect the wiring: Run the cables from the solar panel (to be mounted) and the luminaire through the conduit inside the pole to the controller, usually located near the battery. Follow the color-coded wiring diagram exactly.
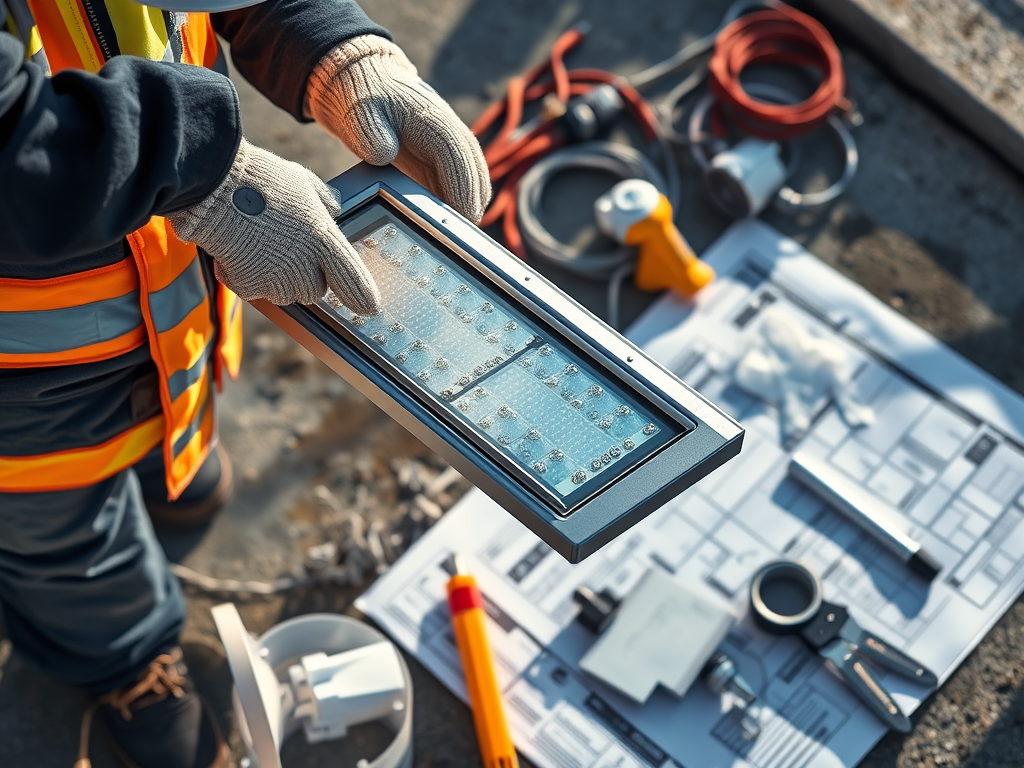
Step 4: Mounting the Solar Panel
Fix the panel securely to its bracket.
Set the Tilt Angle. A simple rule: Set the angle equal to your latitude for year-round average performance. For winter optimization (in the Northern Hemisphere), tilt = latitude + 15°.
Step 5: Hoisting and Securing the Pole
Using a crane or lift, carefully hoist the assembled pole onto the foundation anchors.
Secure it with heavy-duty nuts and washers. Use a level on two sides to ensure the pole is perfectly plumb before tightening completely.
Step 6: Final Electrical Connections & Sealing
Make the final connections at the controller: Solar Panel (+) to Controller (PV+), Battery (+), and Load (+). Double-check polarity!
Apply dielectric grease to all metal connectors to prevent corrosion.
Seal all conduit entry points and junction boxes with silicone or rubber grommets to make them watertight and insect-proof.
Step 7: System Testing & Commissioning
Cover the solar panel completely to simulate night. The light should turn on within minutes.
Uncover the panel in daylight. The light should turn off, and the controller should indicate a charging status.
Test any smart features (motion sensor, dimming levels) via the controller or app.
Step 8: Safety and Maintenance Briefing
Clean the solar panel with a soft cloth and mild detergent every 3-6 months.
Inspect bolts and seals annually for tightness.
WARNING: Never open the controller or battery compartment while the system is active. Always cover the solar panel first.
Internal Link Suggestion: Need high-quality, pre-configured solar street light kits with detailed manuals? Browse our easy-install series designed for contractors